Stop Motion & Video Creator
A complete animation studio that runs on the phone in your pocket. Shoot frame by frame with real onion skinning, cut it together on one timeline, and export a finished film — without an account, a subscription, or an internet connection.
What FrameFluss actually is
Stop motion is a patient craft. You move something a few millimetres, take a picture, and do it again several hundred times. The difficulty is almost never the idea — it is keeping every frame consistent, knowing exactly how far you moved things last time, and stopping the light from shifting halfway through.
Most phone camera apps are built for the opposite job: one shot, taken fast, automatically adjusted. FrameFluss is built for the hundredth frame. It holds your exposure steady, shows you the previous frames ghosted underneath the live view, and puts the shutter where your thumb rests so you never have to look away from what you are animating.
When the shooting is done, the same app cuts it together. Titles, animation, live video and credits sit on one timeline with audio running underneath, and the whole thing renders to a single video file.
What's in it
Onion skinning over the live viewfinder
Previous frames sit ghosted under what the camera sees right now, at an opacity you set. It is the difference between guessing how far you moved something and knowing.
A capture rail built for one hand
Shutter, playback and discard sit where your thumb already is, and the filmstrip builds beside them. You can shoot hundreds of frames without leaving the viewfinder.
Manual camera control
Pro controls give you zoom and exposure directly, plus a framing grid. Lock your exposure and the flicker between frames goes away — the single biggest quality win in stop motion.
One timeline, several kinds of clip
Title cards, stop-motion sequences, live video and credits all live on the same timeline and export as one piece. You are not stitching separate projects together afterwards.
Audio layers and voiceover
Lay music under the whole piece or record a voiceover straight into the project, then trim and balance without leaving the editor.
Video capture and trimming
Shoot live video in the same app, then set in and out points with range handles and stepper controls for frame-accurate edges.
How you'd actually use it
Two ways to work, five steps each. A first animation takes about twenty minutes end to end.
Stop motion
5 stepsFrame-by-frame animation. You shoot hundreds of stills, and FrameFluss keeps them consistent while you do it.
Create a stop-motion project
From Home, tap + and pick Stop motion. You can keep as many projects going as your storage allows, and rename, duplicate or delete any of them later from the project list.
Frame the shot and lock the camera
Open Pro controls to set zoom and exposure by hand, and switch on the framing grid to keep your composition square. Locking exposure before the first frame is the single biggest thing you can do to stop the finished animation flickering.
Shoot, with the last frames showing through
Turn on onion skin and set its strength — 30% is the default and a sensible starting point. Your previous frames appear ghosted under the live viewfinder, so you can see exactly how far you moved things. Nudge the subject, tap the shutter, repeat.
Tidy the filmstrip, then dress the piece
The filmstrip along the capture screen lets you select, reorder and delete frames without leaving the viewfinder. When the shooting is done, move through the Titles, Audio and Filters stages to add title cards, lay music or a voiceover underneath, and apply a look.
Preview the whole thing, then export
The export panel is where everything comes together — you get a real composited preview with titles, filters and audio playing, plus controls for format, resolution, frame rate and quality. Render it, then save to your gallery or share it.
Video
5 stepsOrdinary video capture, cut and dressed with the same editor. Useful on its own, or for mixing live footage into an animation.
Switch to Video and create a project
Home has two modes. Tap the mode icon in the header or swipe across to Video, then create your project there — the mode you are in decides which capture screen you get.
Record
You get a live preview with a status row showing what is happening, and a live look you can apply while recording. Quick settings sit behind the ⋯ button for anything you need to change mid-shoot.
Trim to the good part
After you stop, the clip loops in a real player with a range slider across it. Drag the handles, or use the Start and End steppers when you need the edges frame-accurate. Your original recording is never modified.
Add titles, audio and a look
The same Titles, Audio and Filters stages the animation side uses. Filters on video are applied at export rather than baked into the clip, so your recording always stays untouched and you can change your mind.
Preview and export
The export panel composites the clip with your titles, filters and audio so you can watch it before committing, then renders it out at the format, resolution and quality you choose.
Both routes share the same editor.Titles, audio and filters work the same way whichever you started from, and a single project can hold animation, live video, title cards and credits on one timeline — they export together as one film.
A look inside
Captured on a 6.7-inch Android phone. Swipe through.
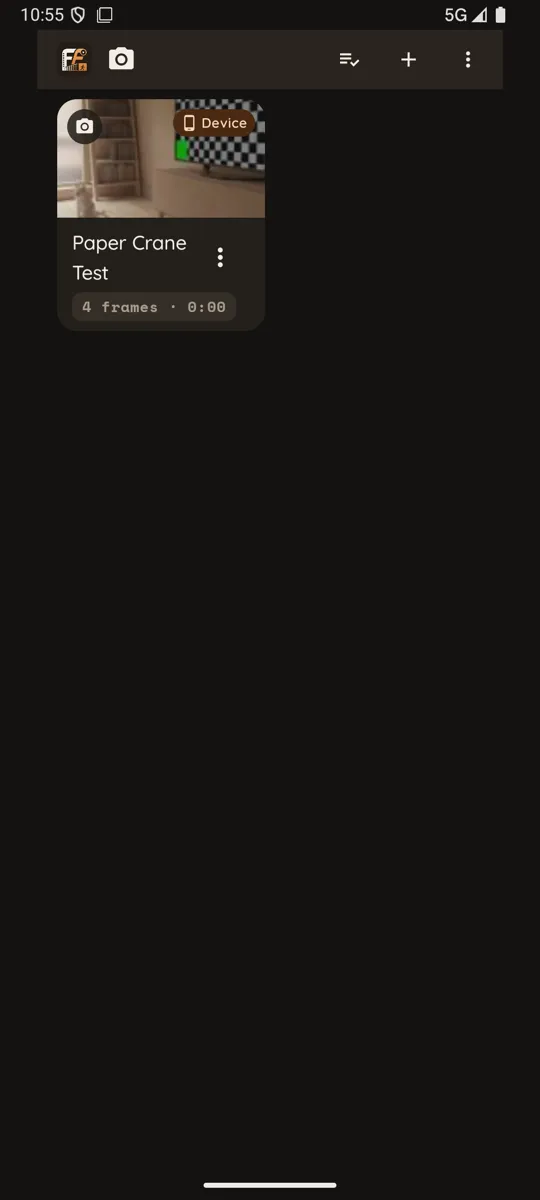
01Pick up any project right where you left off. 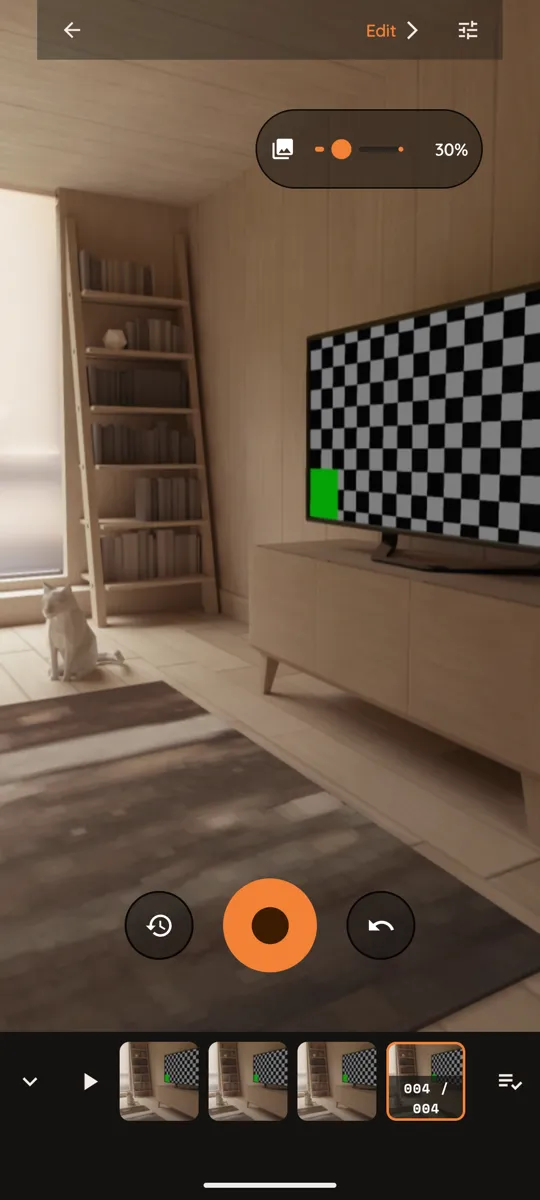
02Shoot frame by frame with everything you need under your thumb. 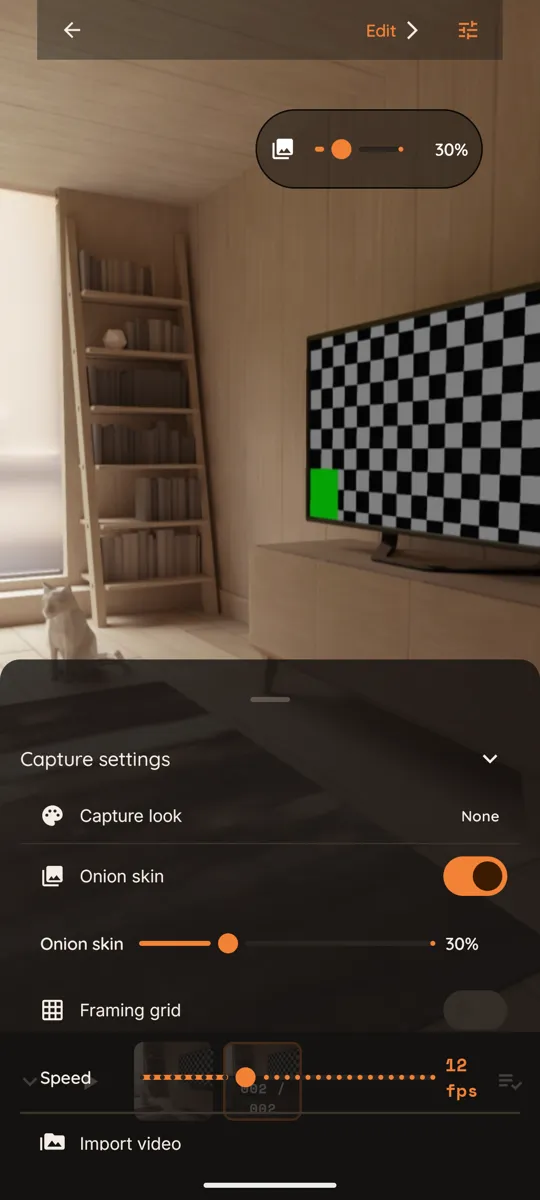
03Your last shot sits ghosted under the live view, so every frame lines up. 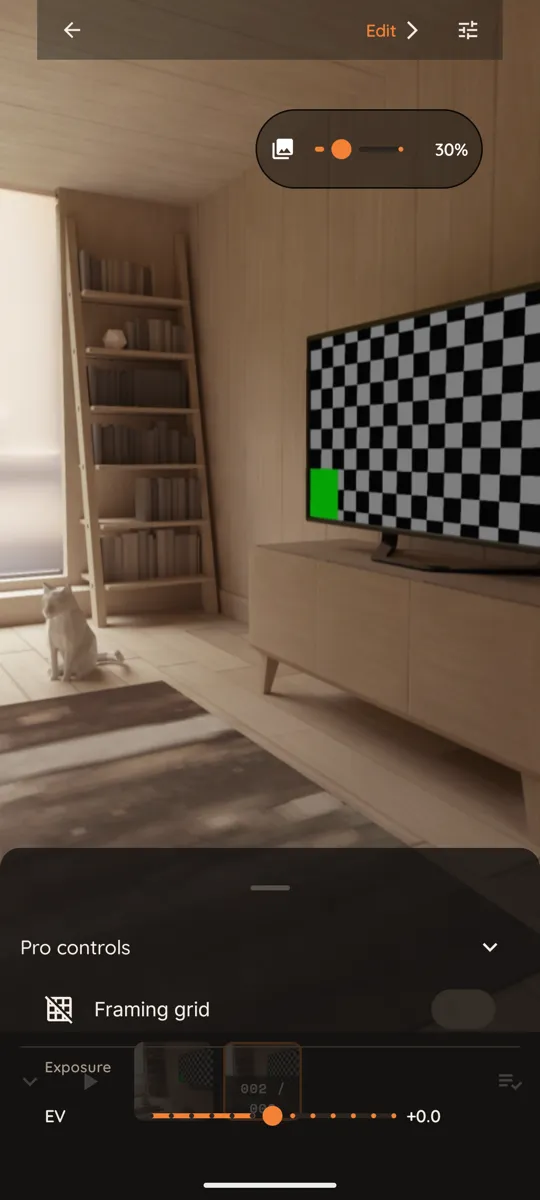
04Fine-tune framing and exposure without leaving the shot. 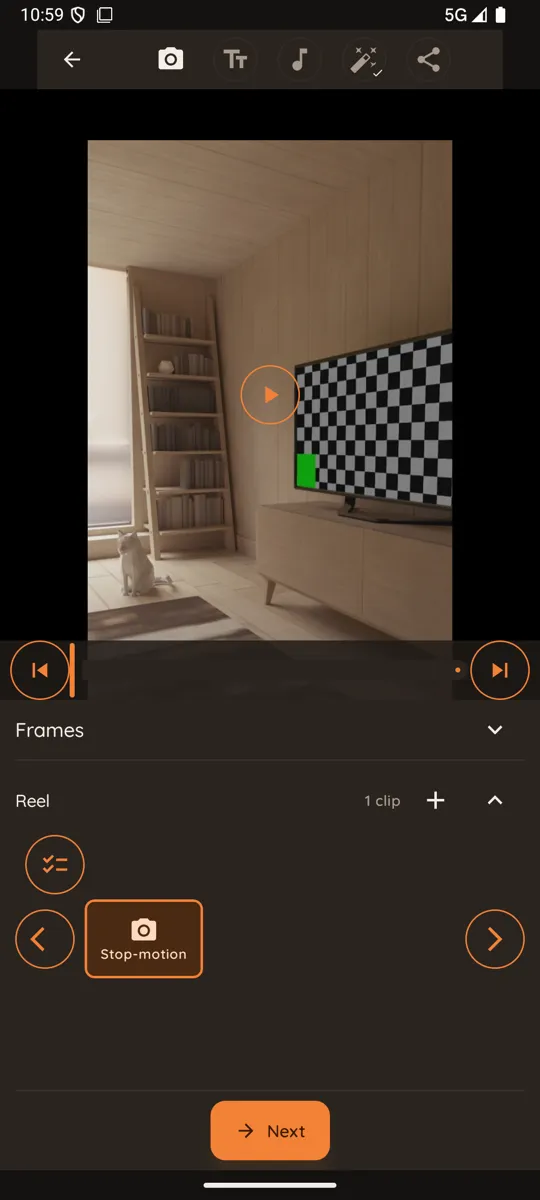
05Your captured sequence, ready to arrange in the editor. 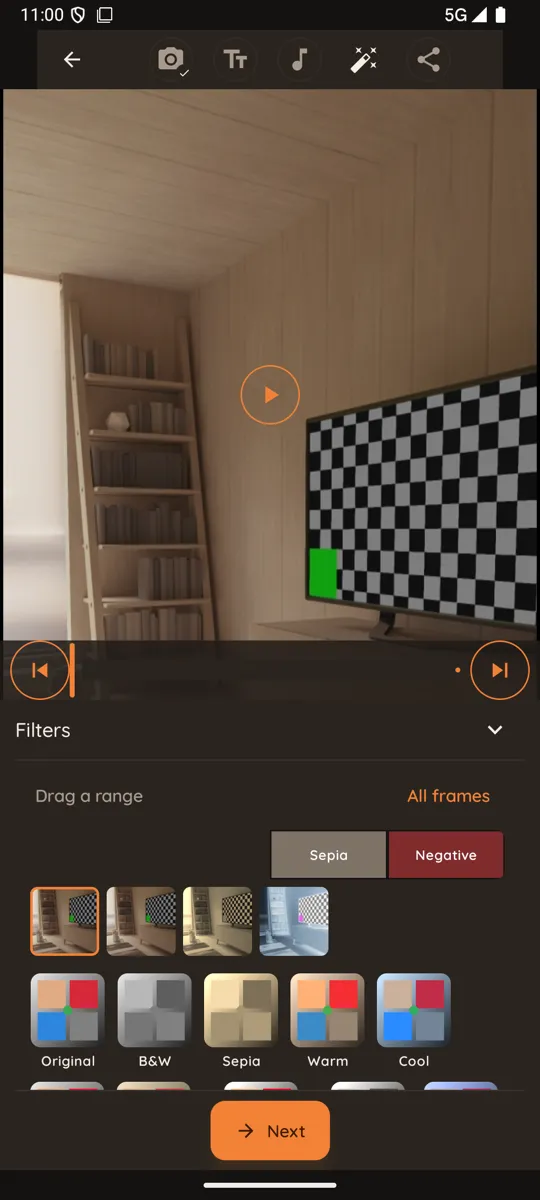
06Give the whole animation a mood with one tap. 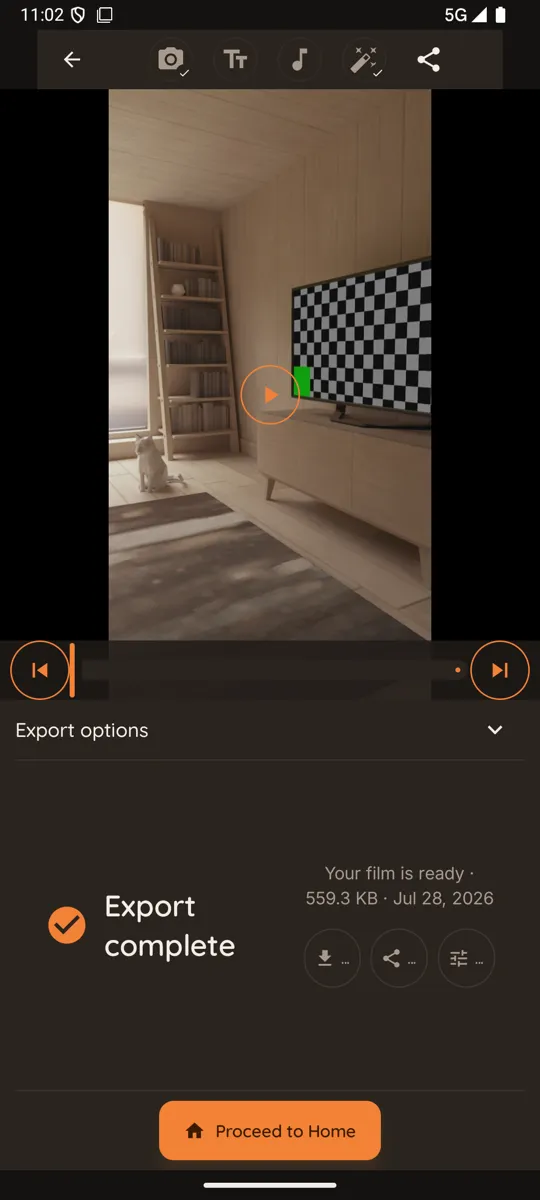
07Render it out and share your film.
Your footage never leaves your phone
No account, no cloud, no analytics, no crash reporting, no advertising SDK and no advertising identifier. FrameFluss has no server to send your work to, which is the only guarantee that means anything. Camera and microphone are requested only at the moment you use them.
FrameFluss is designed, developed and published byLemonSolo. The FrameFluss name, logo, interface design and application code are © 2026 LemonSolo. All rights reserved.
Android and Google Play are trademarks of Google LLC. Work you create with FrameFluss belongs entirely to you — see theterms of service.